
Have you ever wondered why some car photos instantly grab attention while others look flat and uninspiring? The difference often lies in technique, planning, and understanding the art of automotive photography. Whether you’re a car enthusiast, dealership owner, or an aspiring photographer, learning how to take professional car photos can help you showcase vehicles in the most captivating way possible.
In this guide, you’ll discover step-by-step instructions, expert tips, and proven techniques for capturing stunning car photography that looks polished, professional, and ready for magazines or online listings.Step 1: Prepare Your Car for the Shoot
Before you even touch your camera, preparation is key.
Check the tires – shiny, clean tires can elevate the entire look.
Clean the car thoroughly (inside and out). Dirt, fingerprints, and streaks are magnified in high-resolution images.
Polish and detail the exterior for added shine.
Remove distractions (license plate covers, clutter, or temporary stickers).
Step 2: Choose the Right Location
The setting can make or break your automotive shots.
- Neutral backgrounds (open fields, empty parking lots, modern architecture) keep the focus on the car.
- Avoid clutter — messy or busy surroundings pull attention away.
- Golden hour (just after sunrise or before sunset) provides soft, flattering light.
- Consider reflections — cars are shiny; avoid placing them near distracting elements like bright neon signs or crowds.
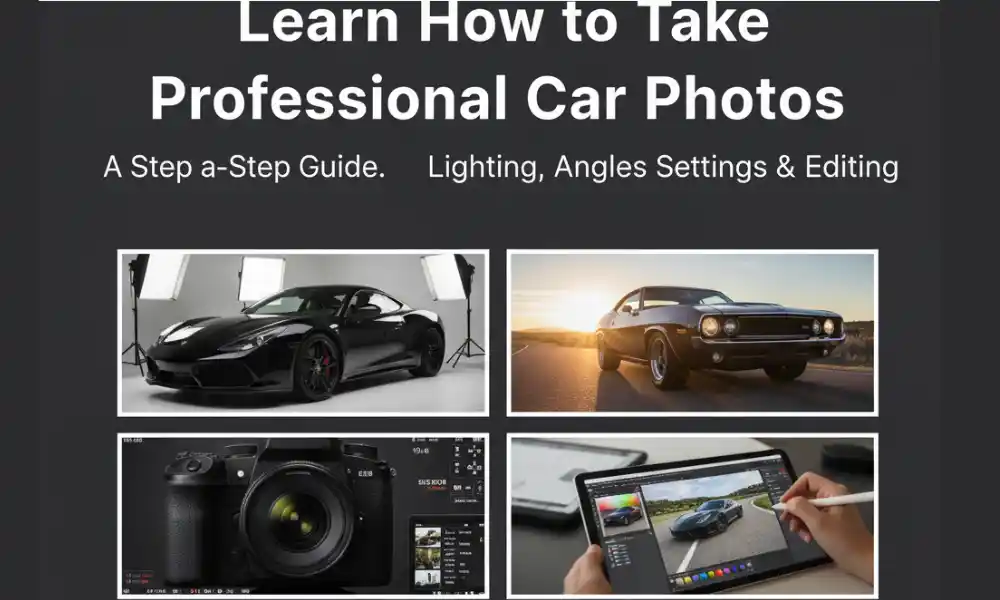
Step 3: Master the Lighting
Lighting is everything in photography, especially with reflective surfaces like cars.
- Natural light is your best friend — avoid harsh midday sun.
- Use diffusers or reflectors to soften shadows.
- Experiment with night shots using streetlights or light painting for dramatic effects.
- Highlight curves — adjust light angles to accentuate body lines and chrome details.
Step 4: Select the Right Gear & Camera Settings
While professional cameras work best, even smartphones can produce stunning results with the right approach.
Recommended Gear:
- DSLR or mirrorless camera with manual settings.
- Wide-angle lens (for full car shots).
- 50mm lens (for detail shots).
- Tripod (for stability, especially at night).
Camera Settings:
- Aperture (f/4 – f/8) for sharp focus.
- Shutter speed (faster for moving cars, slower with tripod for static shots).
- ISO 100–400 to minimize noise.
- Polarizing filter to reduce glare and reflections.
Step 5: Focus on Composition & Angles
Great photography isn’t just about the car; it’s about how you frame it.
- Low angles make the car look powerful and dominant.
- Three-quarter shots (showing the front and side) are the most popular for automotive ads.
- Interior shots should highlight luxury details — steering wheels, stitching, infotainment screens.
- Close-up shots work well for branding elements (logos, headlights, wheels).
Step 6: Post-Processing & Editing
Even the best raw shots need some polishing.
- Adjust brightness & contrast for clarity.
- Enhance colors (but don’t oversaturate).
- Remove distractions (dust, background clutter).
- Highlight reflections to make metallic finishes pop.
Why Professional Car Photography Matters
Whether for dealerships, automotive brands, or personal portfolios, professional photography builds trust. Clear, detailed images help potential buyers visualize quality and style, making them more likely to engage or purchase.
FAQs
1. What’s the best time of day to photograph cars?
Golden hour — early morning or late afternoon provides soft, natural lighting.
2. Can I take professional car photos with my smartphone?
Yes! With proper lighting, composition, and editing, modern smartphones can capture high-quality automotive photos.
3. What angle makes cars look best?
The three-quarter angle (showing the front and side) is the most flattering and commonly used in professional shoots.
4. How do I avoid reflections on car photos?
Use a polarizing filter, shoot during overcast conditions, or change your angle to minimize unwanted reflections.
Conclusion
Taking professional car photos isn’t just about pointing and shooting — it’s about preparation, creativity, and technical skill. From cleaning your car and choosing the right backdrop to mastering light and post-editing, every step contributes to making your images stand out.
If you’re looking for expert automotive photography services, Foltzphoto specializes in capturing vehicles with precision and artistry, helping brands and individuals showcase their cars in the best possible light.